
In this post we will cover the step-by-step process to install SQL Server 2012 Analysis Services in Tabular Mode. This post assumes that you have already gone through the process of installing a SQL Server 2012 Analysis Services multi-dimensional instance.
One common question that comes up is, “can I convert my existing SSAS multidimensional instance to a tabular instance?”. The answer is that you cannot convert an already installed SSAS multidimensional instance to tabular. It requires a separate install and instance for this. Also, important to note tabular mode is required if you want to access the tabular model over the network.
The following steps provided will walk you through the installation wizard to install a SSAS tabular instance.
Tabular Instance Installation
If you have the SQL Server 2012 binaries available, start/click the “setup.exe”. The SQL Server Installation setup wizard will launch.
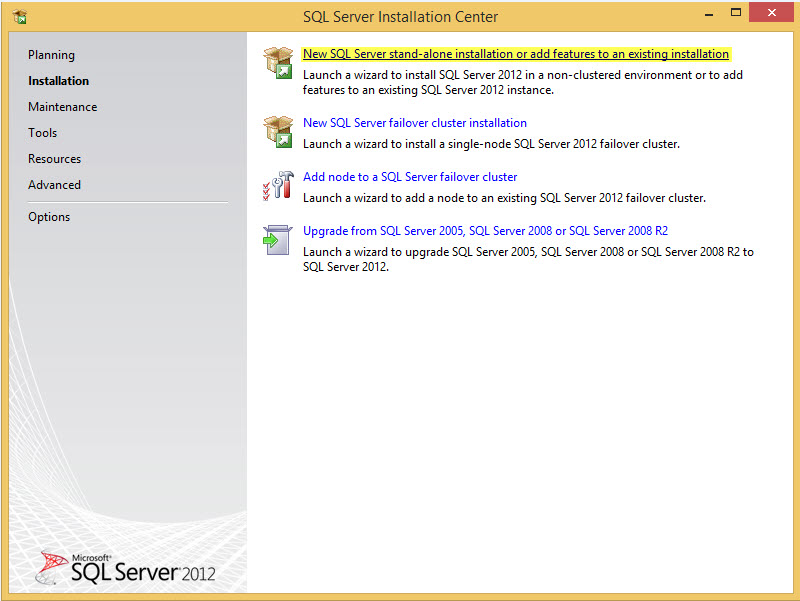
Select the “New SQL Server stand-alone installation or add features to an existing installation” option.
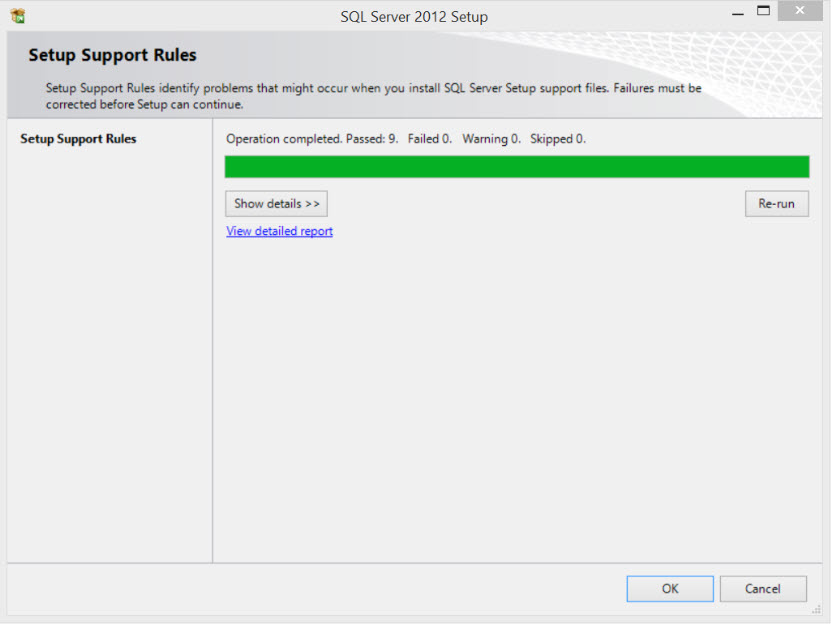
Allow the Setup Support Rules to run and then click OK.
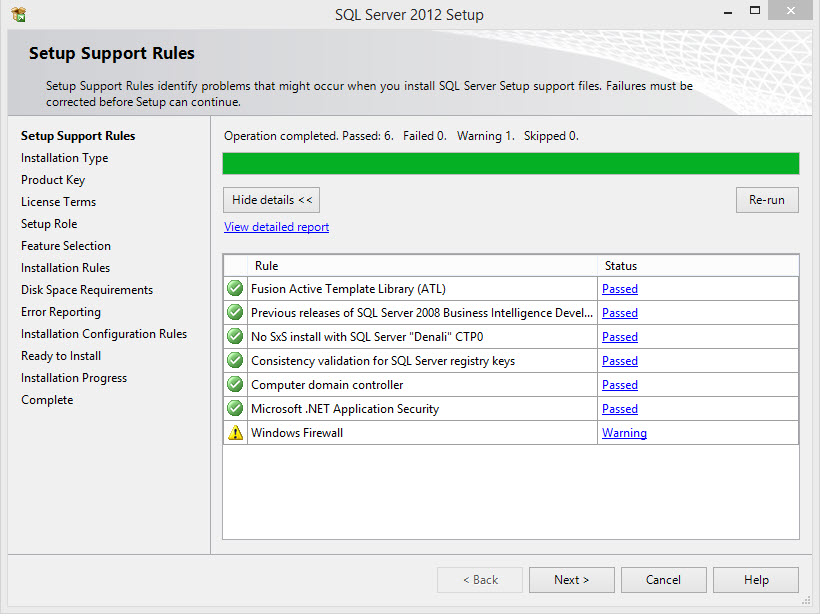
In the Setup Support Rules, ignore the Windows Firewall warning (for now) and click Next.
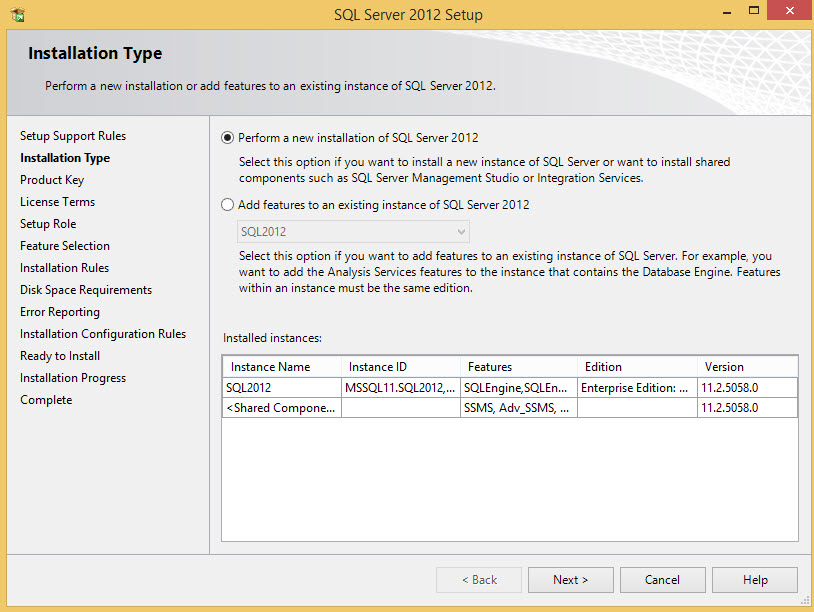
Select the “Perform new installation of SQL Server 2012” option. Again the assumption is that we have already performed an installation of a SSAS multidimensional instance.
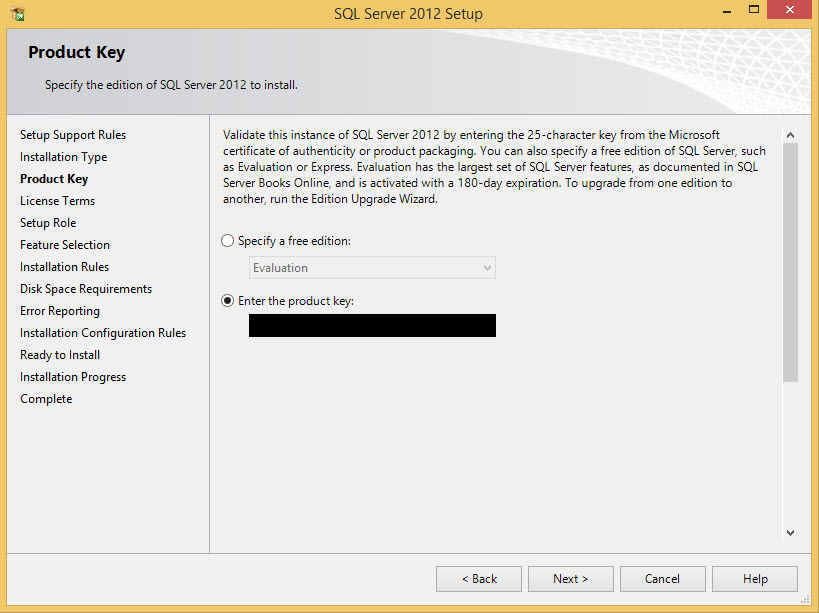
If you have a valid product key, you will enter it here. You can also use an Evaluation copy that will be good for 180 days. After you complete the option that applies to your situation click Next.
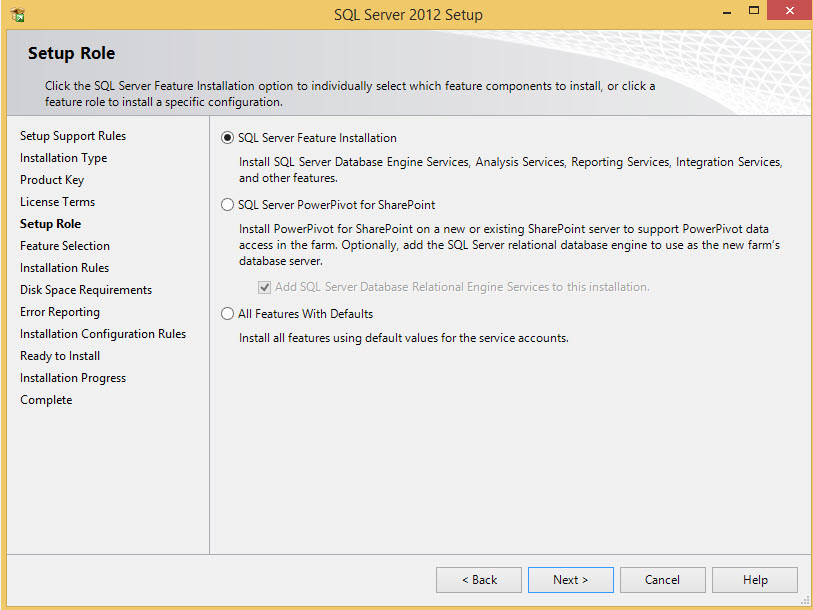
Go through the Setup Role step. Select the SQL Server Feature Installation option. Then select Next.
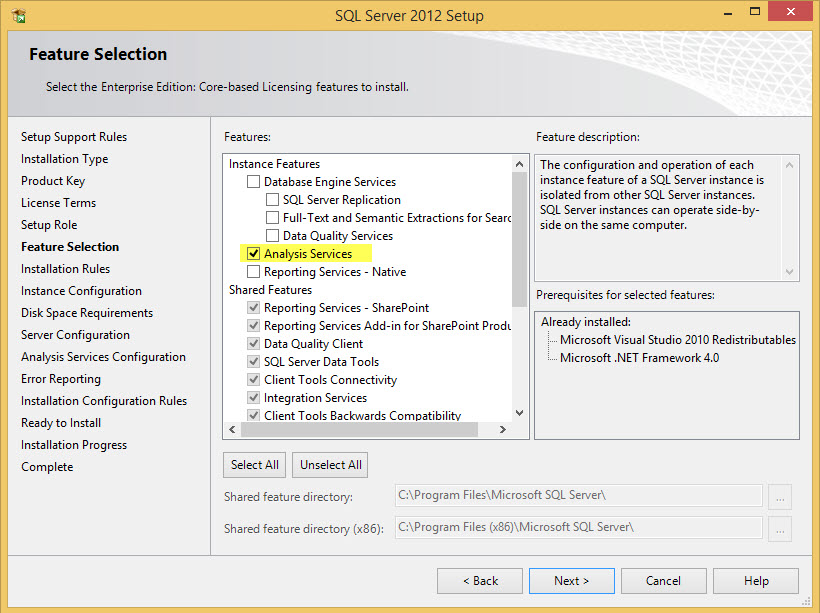
Select Analysis Services in the Feature Selection step.
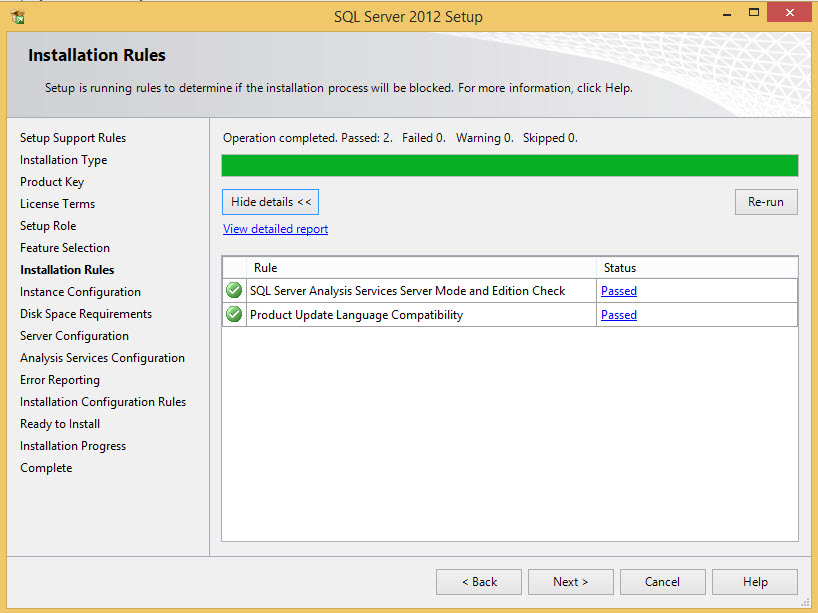
After reviewing the Installation Rules Status (all should have a status of passed), select Next.

In the Instance Configuration step, a named instance is established. The named instance in this case is Tabular. Again, the assumption is that there has already been a multidimensional instance previously installed. Enter the name into the Named Instance field. Note you may have to check the Default Instance radio button to enter the same value that is entered in the Named Instance field in the Instance Id field.
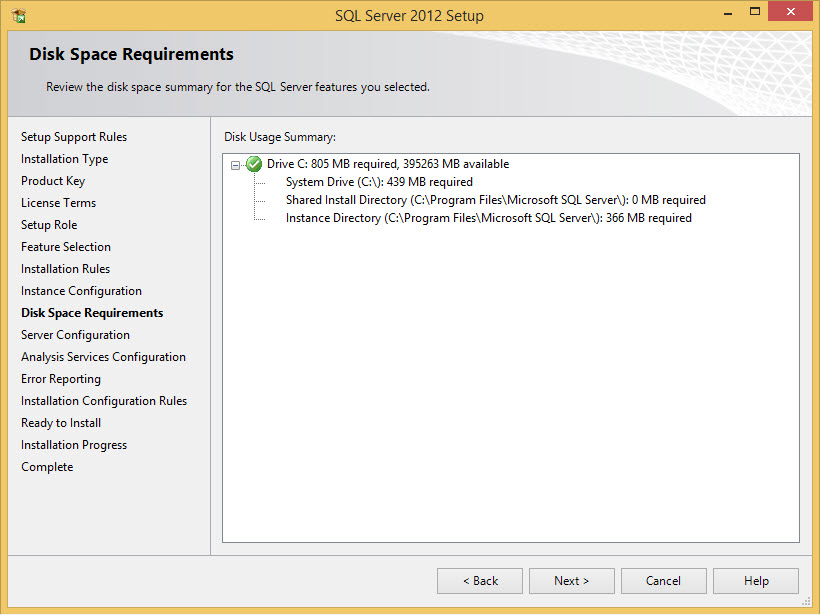
Check the Disk Space requirements. Then select Next.
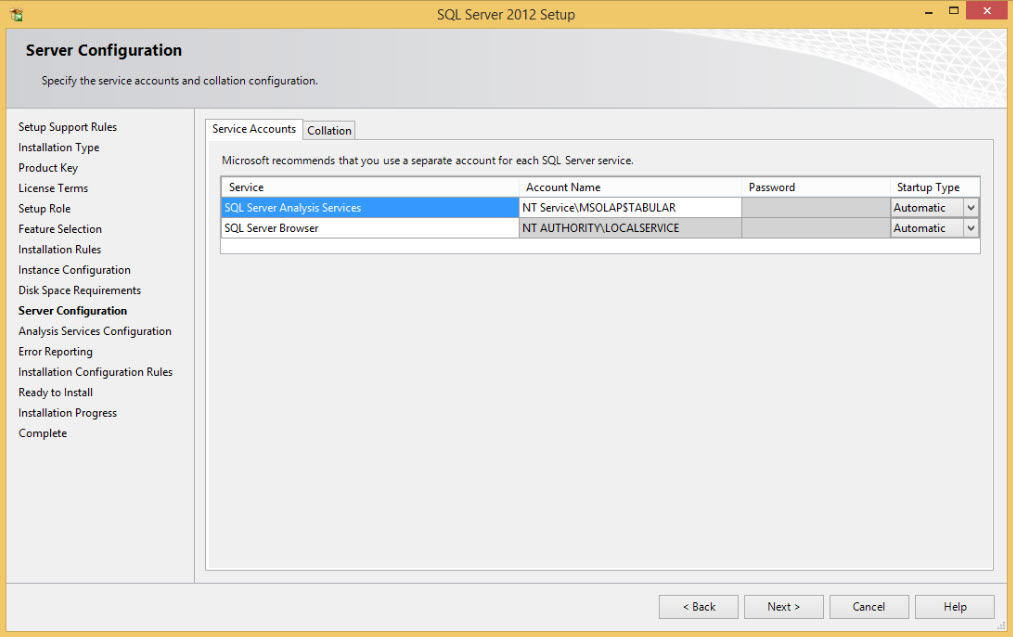
Check the Server Configuration details. Then select Next.
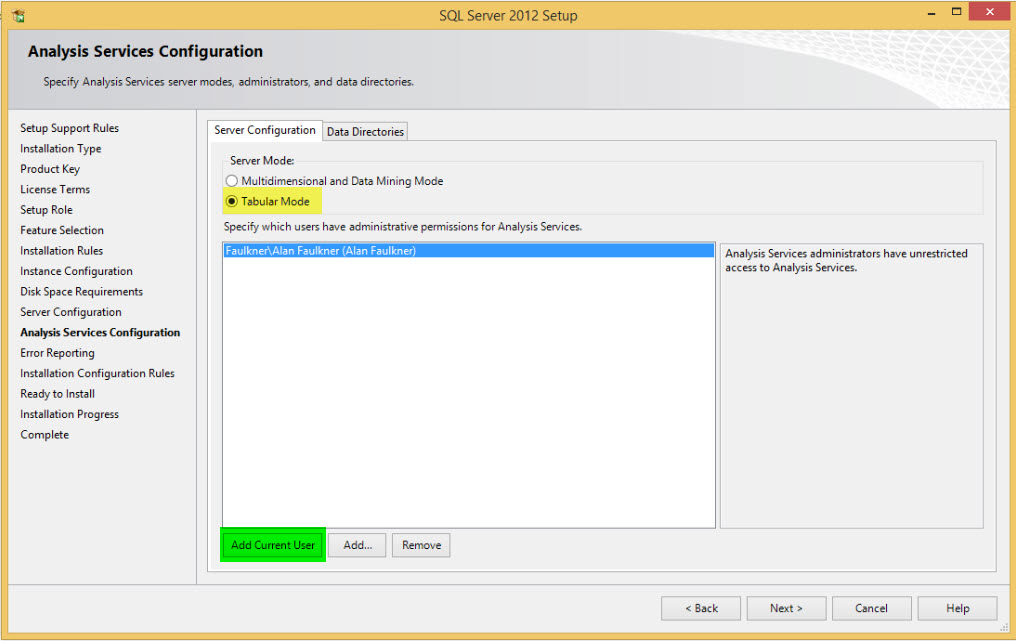
This is the most important step in the installation process. In the Analysis Services Configuration screen, select Tabular Mode. Also, be sure to select the Add Current User button. Then select Next.
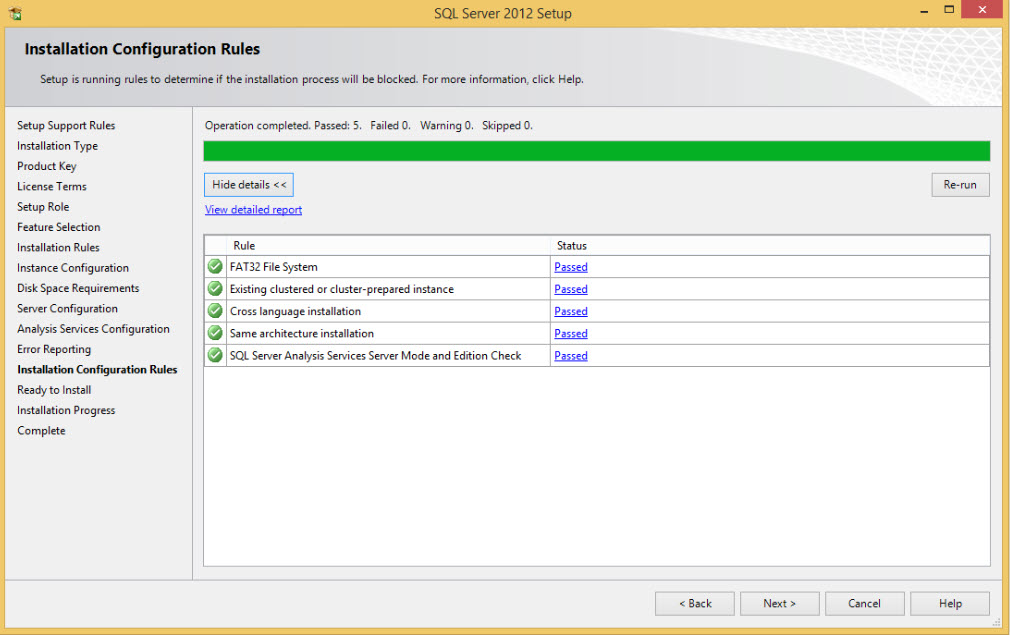
Perform the Installation Configuration step. All items should have a Passed status. Then select Next.
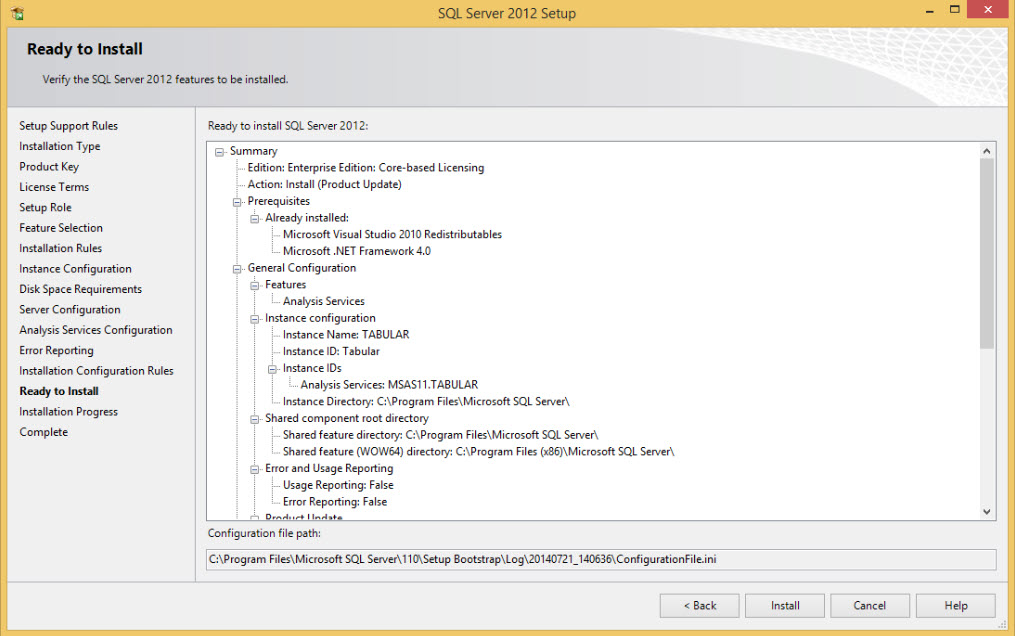
Now you are ready to perform the install. Take note of the Configuration file path. The ConfigurationFile.ini can be leveraged in the future to perform an unattended installation. Once your review is complete, select Install.
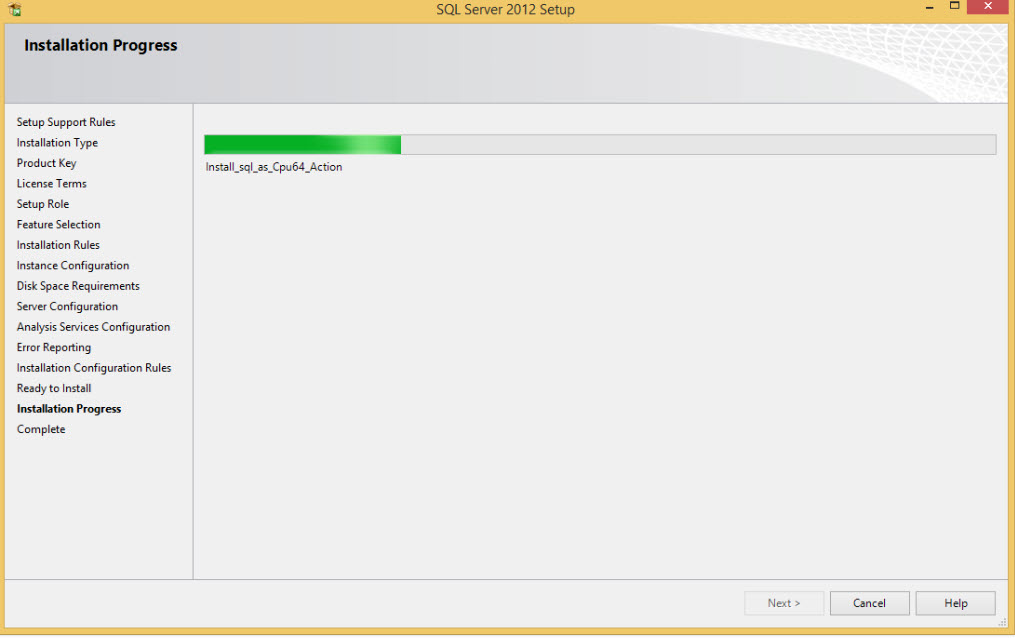
Installation Progress
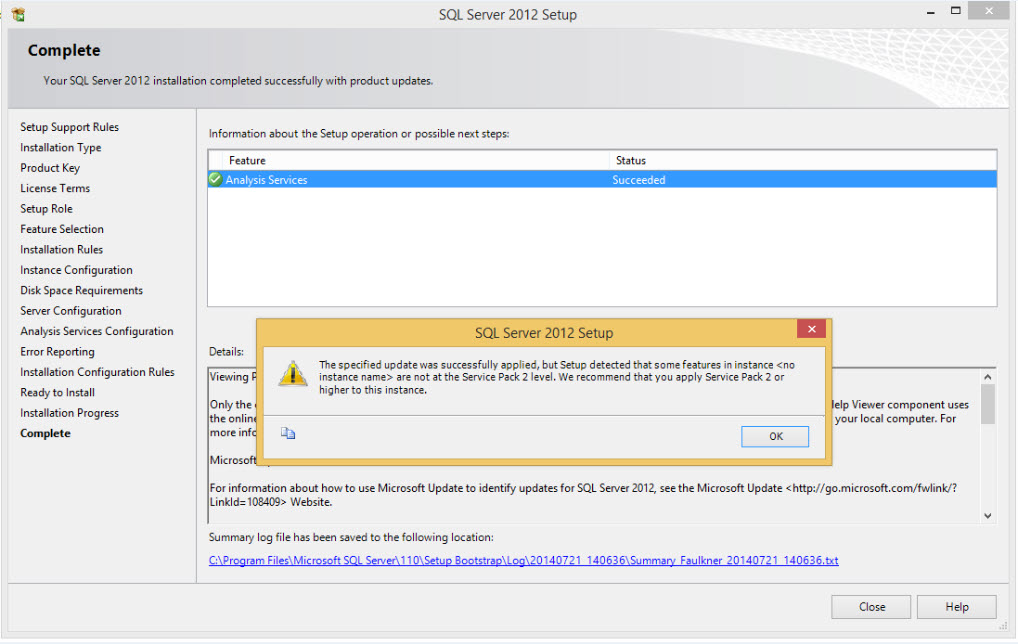
You will be presented with a final screen indicating the outcome of the installation. In my case, I had previously applied Service Pack 2 before installing the Tabular instance. This required that I re-install Service Pack 2 so that it would apply to the Tabular instance as well. I cover this in the following post.
Leave a Reply